Last time around, we introduced you to our Dart University series with a few topics that get a lot of play on the Dart Heads customer service help lines – block oiling, setting valvetrain geometry, and using stud girdles to stabilize the valvetrain in high-performance applications. In this installment, we’re going to take a look at prepping the block itself, the proper way to install head studs, and how to set valve lash, and once again we’ve got Dart’s Jack McInnis as our sherpa as we climb higher. McInnis and the whole Dart customer service team aren’t just there to help out big-shot internet superstars like us, though – their years of experience and invaluable advice are just a phone call away for anyone building an engine with their parts.
Block Preparation
Everything in a build starts with the block itself, so doing it right starts from this foundation. Dart offers their blocks with two levels of preparation, depending on whether you’d prefer to have the final touches done locally, or let Dart handle those details. A “standard” block will arrive with cylinders bored to spec, needing only a finish hone, and decks machined flat and parallel. “We leave the decks .005 to .008 tall for final finishing,” McInnis explained, “ but they don’t require any further machining unless a specific ‘zero deck’ condition is desired.” Another area where Dart leaves clearances tight is the lifter bores, allowing for final honing to get a perfect fit. “We do it this way because each manufacturer has their own specs and tolerances, so there is no ‘right’ one-size-fits-all dimension,” McInnis says. One typical block prep task, making room for the rods in a long-throw engine, is already taken care of by Dart. Per McInnis, “all Dart blocks are clearance for stroker cranks. The exact stroke that can be accommodated depends on the specific crank and rods used, and of course extra clearancing can be done.”

When you're deburring your new block, work carefully to avoid critical surfaces like the main bearing saddles and the cylinder walls.
Though the heavy lifting has already been done by Dart, there’s still an opportunity to spend some quality time with a die grinder and sanding roll on your new block, deburring all the non-critical surfaces to break the hard edges and remove any remaining casting flash. The process accomplishes several things – primarily getting rid of any burrs that might subsequently find their way into the oil, but don’t discount the value of eliminating sharp edges that might chew your hands up later in the assembly process. Steer well clear of machined areas like the main bores, deck, and cylinder walls, but McInnis does add, “When deburring, one thing people often overlook is the bottoms of the cylinder bores.” A gentle hand here is required, but it’s not difficult if you simply take your time and work carefully to avoid the cartridge roll getting away from you.

After deburring, a thorough cleaning to remove all traces of machining debris and cutting oil will ready your block for assembly.
With that accomplished, the final step is inspection and cleaning. “A thorough visual examination of the block is always advisable, checking all the threaded holes, oil passages, and so on,” says McInnis. Hot, soapy water and bottle brushes designed for engine builders are your friends here, knocking out any debris left in the oil galleries and removing traces of cutting oil left over from machining. Follow it up with some compressed air and a wipedown of the cylinder bores with lacquer thinner or a similar solvent to get them operating-room clean, then a final treatment with some light oil to displace any remaining moisture and prevent flash rust. One temptation to avoid, especially on used blocks, is cleaning up the threaded holes with a tap. Taps are designed to cut threads, not clean them, and the right tool for the job (if necessary) is a set of thread chasers, which will restore the threads without making them oversize like a tap will.
If all that sounds like a lot of work to do before you get to the fun of actually building your engine, Dart can also supply a fully-prepped block that’s bagged and ready to assemble right out of the box. You’ll need to supply more information on the front end, just like you’d have to do for your local machine shop with a standard block – “Lifter dimensions, special deck heights, the stroke and type of rods to be used,” per McInnis, plus what kind of cylinder finish you need for your chosen ring package. “There are a couple of ways we can deal with this,” McInnis explains. “It can either be a generalized spec, like an OE would do, or it can be quite specific if the customer wishes. In the latter case, we would require the specs from the manufacturers of your pistons and rings.”
Whether you’re getting a standard block or one that’s fully prepped, McInnis advises, “when the shipment arrives, look for obvious damage to the packaging which could have occurred during transport – it’s best to note this when the driver is still present in case there may be damage to the block.”
Tying it All Together
Moving on, we got an education on the fasteners that hold the major components together. In general, Dart recommends studs rather than bolts whenever possible for critical fasteners, for a lot of good reasons. A bolt puts its loads directly into the threads of the block, and any wear that occurs will happen on both the bolt and the block itself. A stud, on the other hand, threaded finger-tight into the block, puts its wear on its own threads and nut instead – a big advantage in block longevity for engines that will be assembled and disassembled on a regular basis. It’s a lot cheaper and easier to replace studs and nuts than fix a block with ruined threads.

Though they can make pulling a head with the engine installed more challenging, studs are preferred over bolts because they only have to deal with tension loads (rather than being simultaneously twisted, like a bolt) and they put the wear on the stud and nut threads, rather than on the threads in the block.
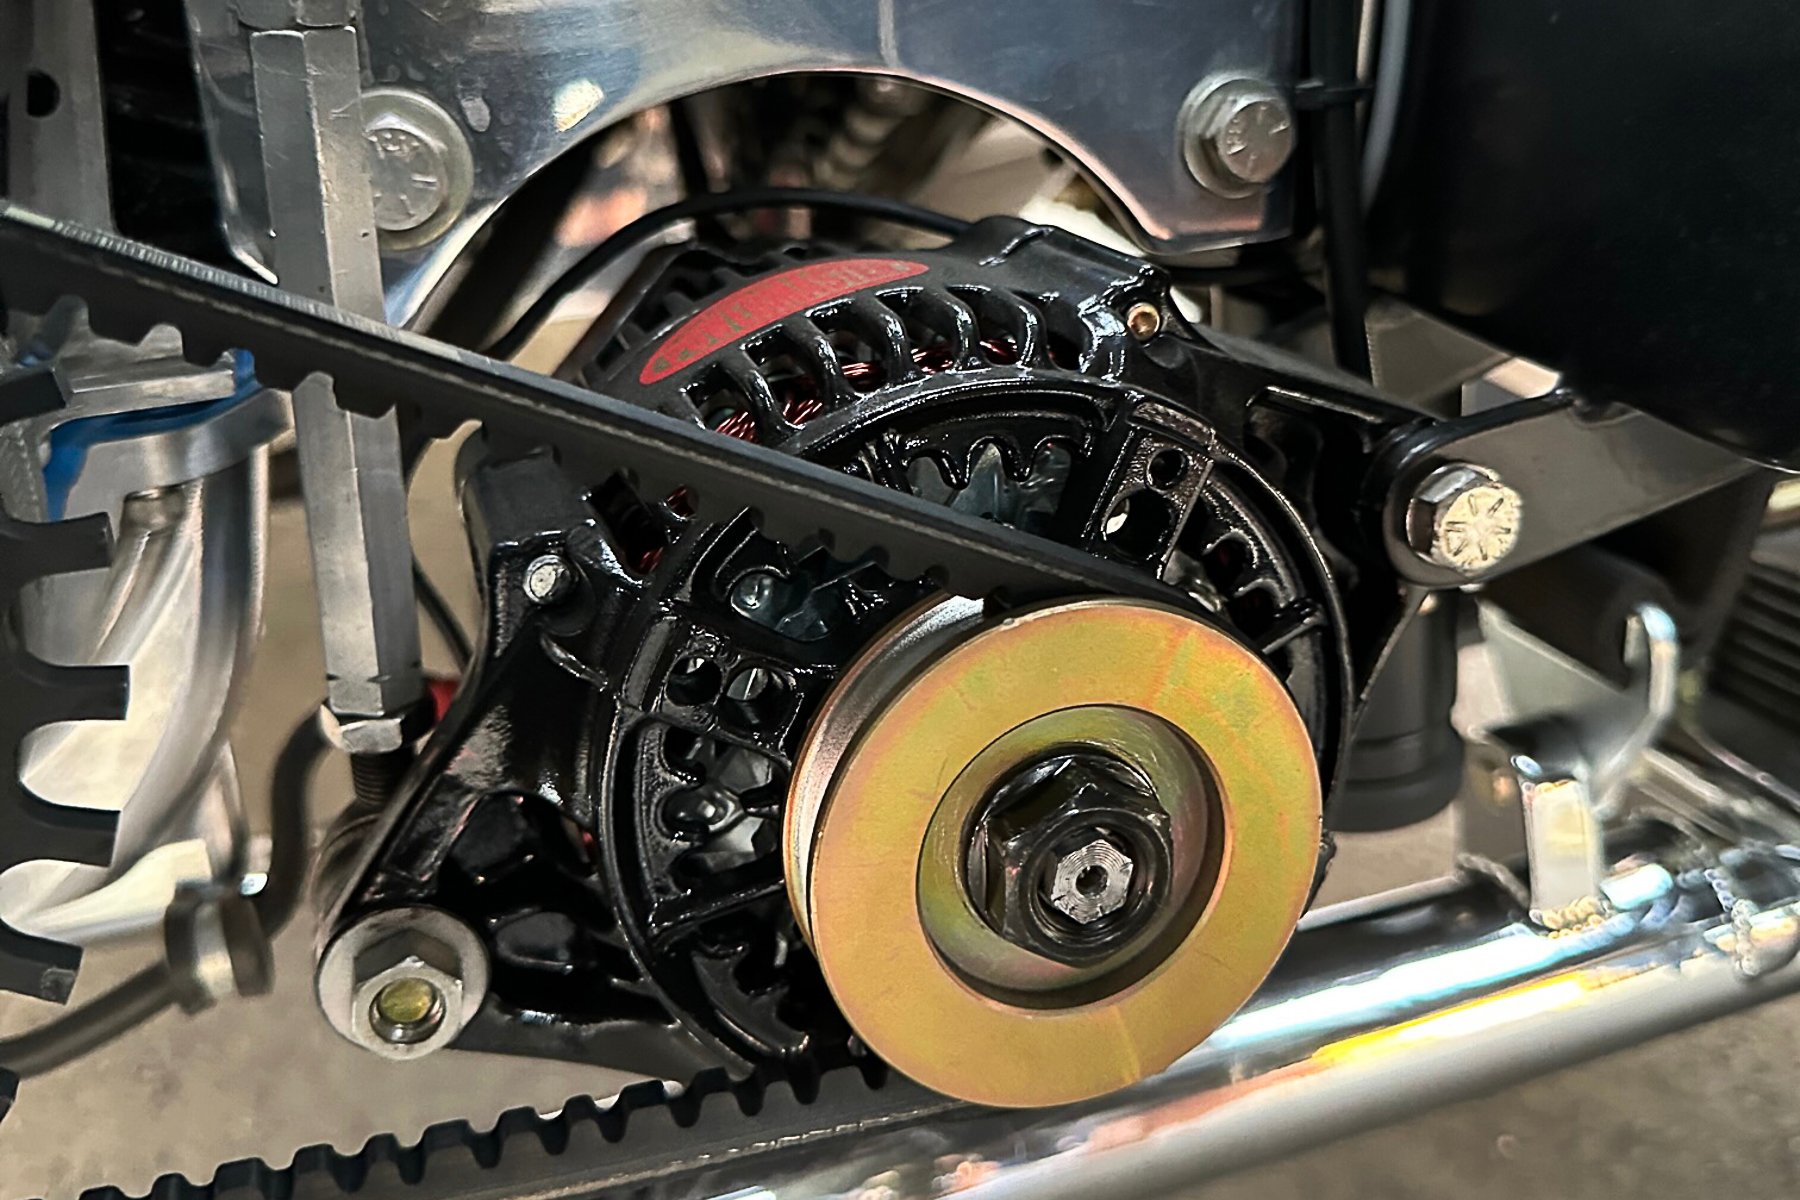
Because Dart uses blind-drilled holes, rather than ones that extend into the water jacket, you can also take advantage of a cool builder’s trick by using studs with a threadless “bullet” nose, or dropping a ball bearing into the bottom of the hole with a fully-threaded stud. When the stud is installed, instead of seating on the unthreaded shoulder of the stud, it will instead bottom out on the nose or ball, ensuring full thread engagement and putting the part of the stud in the block in compression rather than tension.

Because the threaded holes in Dart's block are blind-drilled and don't intrude into the water jacket, bullet-nosed studs (above) or standard studs with a ball bearing dropped into the hole (below) can be used instead of bottoming out the stud on the thread shoulder.

Whatever type of fastener is used, setting the proper torque is critical – everybody’s got their own pet assembly lube, but when it comes to bolts and studs, using the exact thread lubricant and torque method recommended by the manufacturer is mandatory. If parallel-ground washers are provided, use them; they’ll prevent friction between the nut and the surface being secured messing up the torque reading. Fastener quality and proper installation aren’t exactly ‘secrets’ of successful engine building, but it’s easy to be tempted to cut corners. Don’t risk losing a block just because you’re lazy or want to save a few bucks.
All Lashed Up
Setting valve lash is one of those tasks that requires a little finesse to do properly, but it’s a necessary step, both with a new build and for ongoing maintenance. Some slack is necessary to accommodate expansion as the engine warms up – a valvetrain screwed down tight when the engine is cold can hold the valves open a little when it’s up to temperature, so there has to be a provision for adjustment. With hydraulic lifters, oil pressure automatically takes up the slack, but mechanical (or “solid”) lifters require a tiny bit of lash, or free space between the nose of the rocker and the tip of the valvestem when the valves are at rest. With either type of lifter, the first step is putting the cam for the cylinder you’re working on to its “base circle”, the lowest point on the lobe. For milder cams, finding the base circle is as easy as getting the cylinder to top dead center on the compression stroke (both valves closed), then working your way around the firing order doing both intake and exhaust valves at the same time.

Setting the lash on a solid-lifter engine is best done with the engine up to operating temperature, but a cold lash to the proper specs will get you into the right ballpark.
Bigger, aggressive solid-roller cams can be a little more complex thanks to the fact that the lifters are on the base circle for such a short part of the camshaft’s rotation. To make absolutely sure you’re on it, simply turn the engine over by hand until you see the exhaust rocker for the cylinder you’re working on just start to come open. At that point, you’ll know for sure you’re on the base circle for that cylinder’s intake valve. Moving around the firing order, follow the same procedure and lash all the intake valves. Once they’re done, you can set the exhaust by going back to your first cylinder and bringing the intake valve all the way open, and just to the point where it begins closing again. You’ll be on the exhaust lobe’s base circle for that cylinder, and once again you can chase around the firing order to finish setting all the exhaust.
Setting the lash for a hydraulic cam is easy – put the lifter on the base circle and with the rocker backed all the way off, spin the pushrod between your fingertips as you tighten the adjuster. Once you feel resistance while you twirl the pushrod, another half to three-quarter turn on the nut will do it. This compresses the hydraulic lifter just enough to make sure it never tops all the way out in operation, while allowing it to work as it should. For solid lifters, get on the base circle and use a set of feeler gauges between the roller tip and the valve stem to adjust your lash to the recommended cold gap. That will get you into the ballpark, but for optimum performance and durability, you’ll want to “hot lash” the engine at operating temperature.
“The reason for hot lashing is that the heat causes everything to expand,” explains McInnis. “If you know the rate of expansion of your block and heads from experience, it is possible to set the lash tight when cold, based on that dimension subtracted from the recommended spec and be pretty close. Generally, though, it’s best to set lash at the recommended temp and specs.”
We’re just getting started with all the useful information Dart has at their disposal for the home builder, and if you’re craving more and can’t wait for the next installment in our series, check out their website at www.dartheads.com while we get it all together.