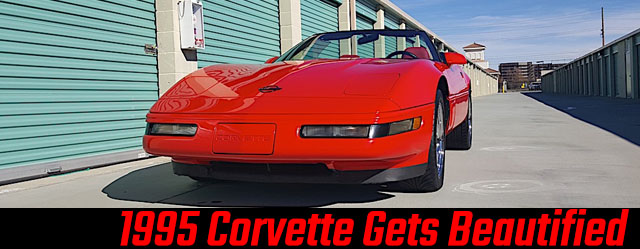
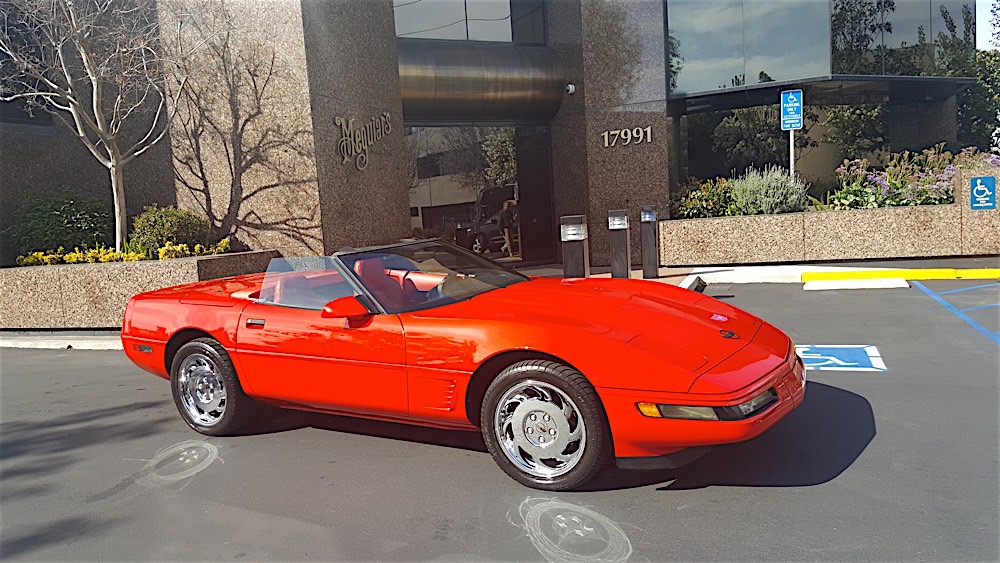
 [1]We recently shared the odyssey of buying our C4 project car [2], “Red Haired Step Child,” and after a careful evaluation of the current state of this old ‘Vette, we decided one of the first things we wanted to tackle was getting the paint corrected and in the best condition possible.
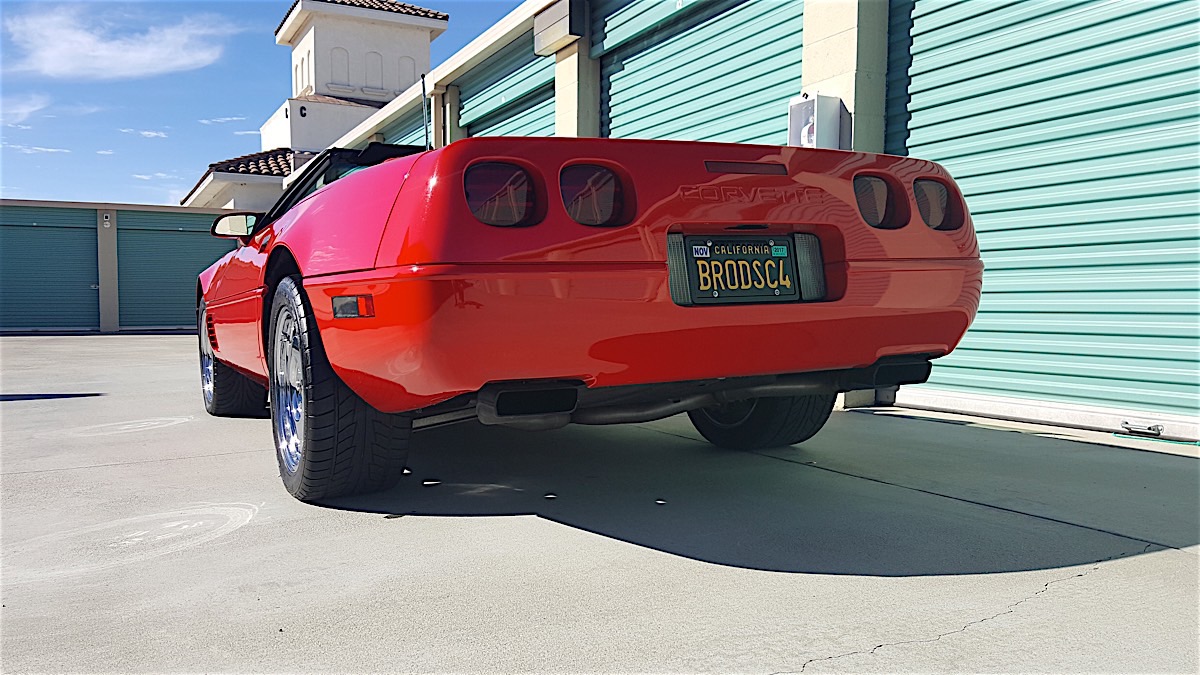
At 22 years old, our C4 is no spring chicken. It’s seen pretty good care over the years with four previous owners, but it’s amazing the car changed hands that many times as it only has 35k miles on the clock.
We suspect that it had a very fussy original owner. From there, like a second or third child, the car was not afforded the attention a “first born” Corvette receives. We came to this conclusion as the car has some niggling issues that equate to differed maintenance or lack of interest from past shepherds.
 [3]
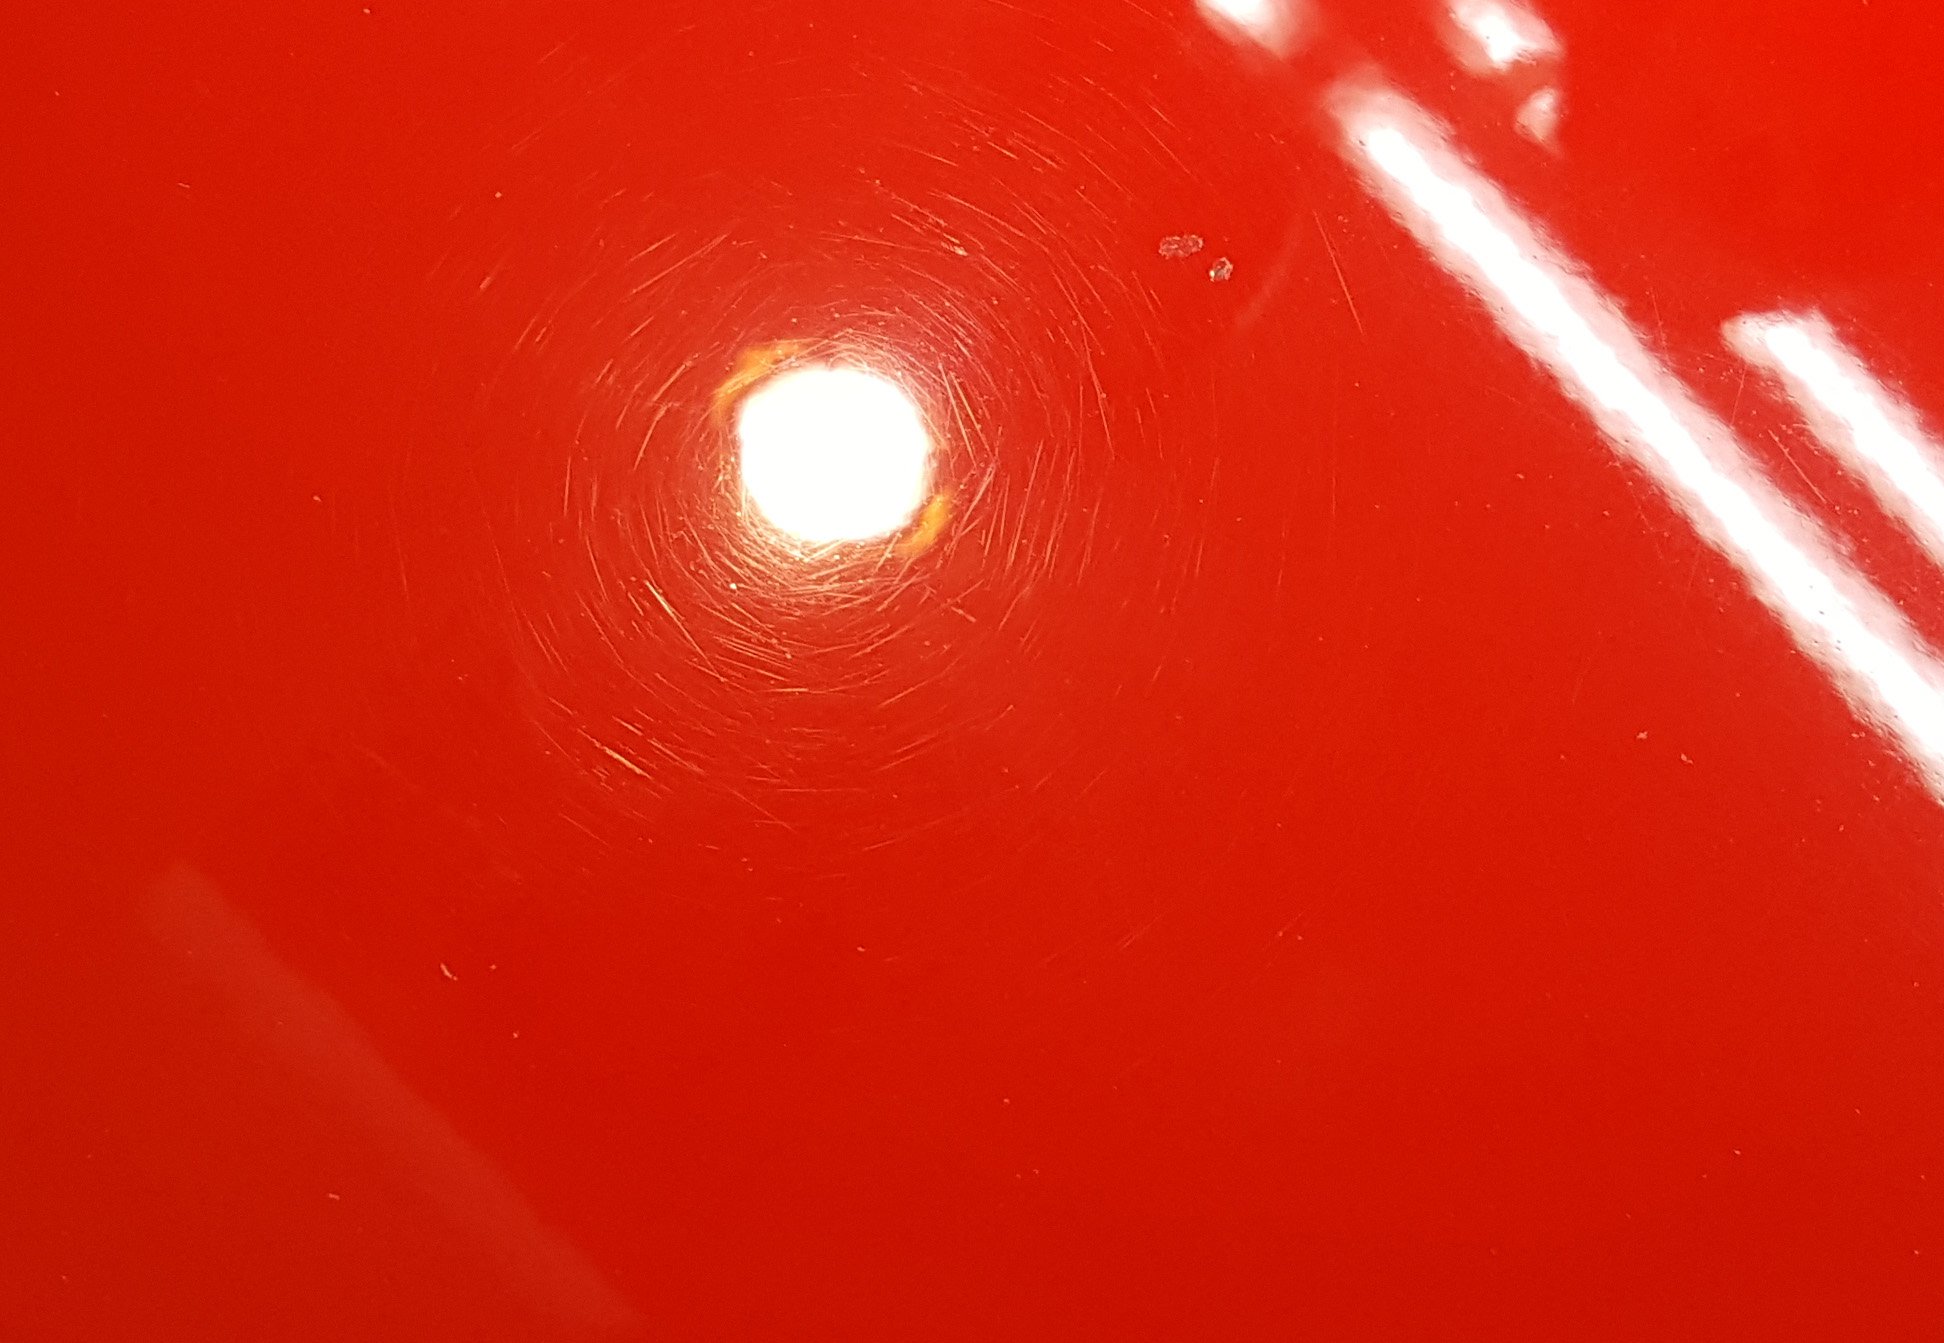
[3]While the Torch Red paint looked good, it was bedeviled with mild swirls and towel marks that were most noticeable under street lights.
We noticed the swirly condition of the paint when we first inspected the car, but had a gut feeling that it was not only was saveable, but could be easily resurrected.
Fast forward to a SEMA event that Corvette Online attended and we crossed paths with well known car finish gurus Meguiar’s [4] and company rep Mike Pennington. A big, tall guy with an easy going demeanor, he asked what we were working on at Corvette Online.
I shared that we recently brought our project car onboard and thought a collaboration with Meguiar’s to correct the paint would be a great way for Corvette peeps to learn exactly what it takes to get your paint looking like new.
You’ve probably seen Car Crazy [5]with head honcho Barry Meguiar, and their car products are ubiquitous, but did you know that Meguiar’s is over 115 years old and has a very interesting backstory?
According to the company, “What began a century ago as a simple furniture polish laboratory and plant in the garage of founder Frank Meguiar, Jr., now spans the globe as an international car care brand. Celebrating its 115th anniversary in 2016, Meguiar’s has become one of the world’s leading surface care product companies, providing highly specialized products for almost every conceivable type of surface.”
I can remember asking a co-worker about whether it was “safe” to let a crew of guys I had never worked with put a buffer on my car. His reply was “Dude, it’s friggin’ Meguiar’s…”
Upon retrospect, I might have been a tad persnickety, but all Corvette guys can relate to placing their beloved ‘Vette in the hands of others. Ultimately, my concerns were unfounded and the transformation Meguiar’s pulled off exceeded my wildest expectations.
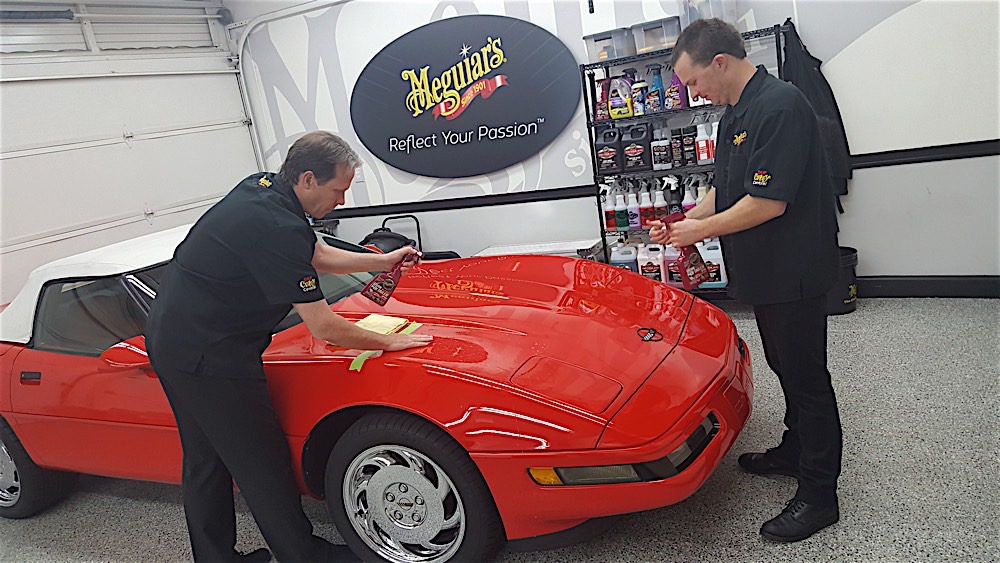
 [6]
[6]Meguiar’s Corporate Training Center was “spic and span” and had everything we needed at arm’s reach.
And we’re off!
I brought the Corvette to the company’s Corporate Training Center in Irvine, CA and was impressed by their multi-building mothership and a fully stocked two-bay detail center.
Mike appeared with his very capable wingman Nick Winn and we got down to business.
Mike and Nick took me into Meguiar’s “classroom” and laid out the sequence that is essential to achieving an outstanding result. Here it is in a nutshell:
Meguiar’s Procedure For Paint Correction – The Goal Technique
- Evaluate The Surface And Your Goals
- Surface Condition and Goals = Procedure
- Choose The Right Product For Each Phase
- Wash – Remove loose contaminanats
- Clean – Clay Bar = Above surface contaminants,
- Compound = Below paint finish, and deep clean and blend fine scratches.
- Polish – Finer abrasive brings luster and shine out
- Wax – Protect and create a barrier on finish repelling future contamination.
- Maintain – Spray detailer and spray wax between aforementioned clean/compound/polish process.
By using “The Goal Technique,” you can create a regiment that is the safest, most gentle and most appropriate method to reach your goal of swirl free, glossy paint.
With that in mind, we turned towards our C4, aka Red Haired Step Child, put on our “Inspector Detector” hats and got to work.
 [7]
[7]To evaluate the current condition of the paint, we busted out one of Meguiar’s LED lights made especially for sussing out such things. What the light revealed was swirl marks that no panel on the car was immune from. These are the result of automated car washes, harsh hand washes and/or toweling off the car.
There was also some previous paint touch up with a small brush and I was worried they would come off under the buffer. Our strategy was to go around them and not “reef” on them too hard. This approach worked well with no unpleasant surprises.
Step one was attacking contaminants “above” the surface. Rail/brake dust, bird poo, tar, pitch et al. Mike’s seasoned hands telepathically read the surface and when it was my turn to carefully run my hands over the hood, I too could feel the crusty bits that had claimed my paint as home.
The clay bar works in conjunction with a Meguiar’s Detail Spray [8] that lubes the surface and creates a slippery film that allows the material to move freely on the paint. You know you’re shy of detail spray if you see streaks of clay on your paint. Don’t be timid, add more and keep a light even pressure on the clay without excess pressure.
 [9]
[9]This is where claying comes in. It essentially “erases” above surface bugaboos sitting on the paint, thoroughly cleaning the surface and getting it ready for a deep clean with compound.
Mike taped off some edges of the car and the front emblems and we think this is a good idea. Meguiar’s system is so forgiving, you probably aren’t in too much danger of burning through an edge, but if you’re fussy–like me–better safe than sorry.
All three of us greased up the car liberally with the detail spray and got to work lifting the stubborn tidbits off the paint. When we were done, the finish was smooth as glass and ready for us to address “below” surface, aka the fine scratches and buff them out.
 [10]
[10]
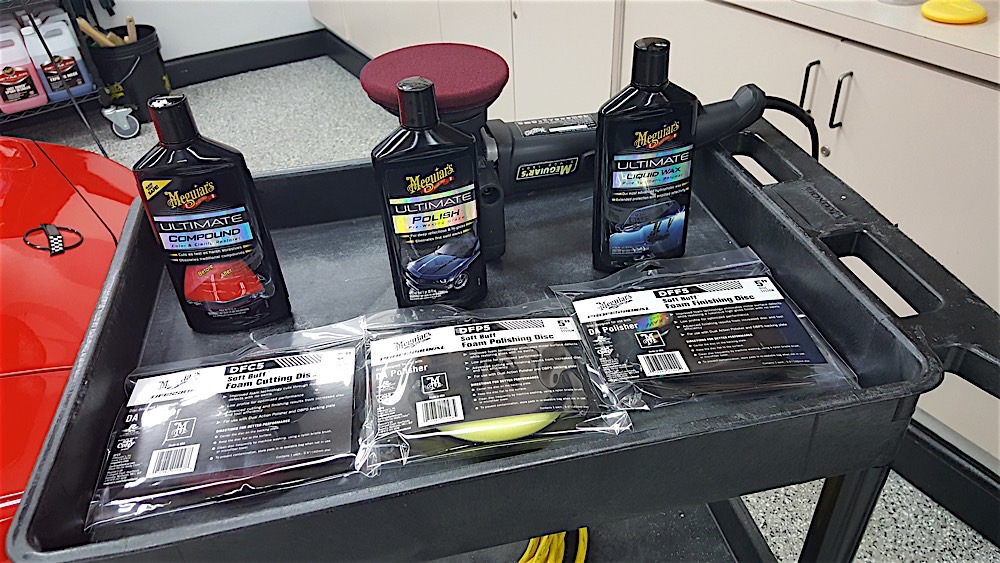
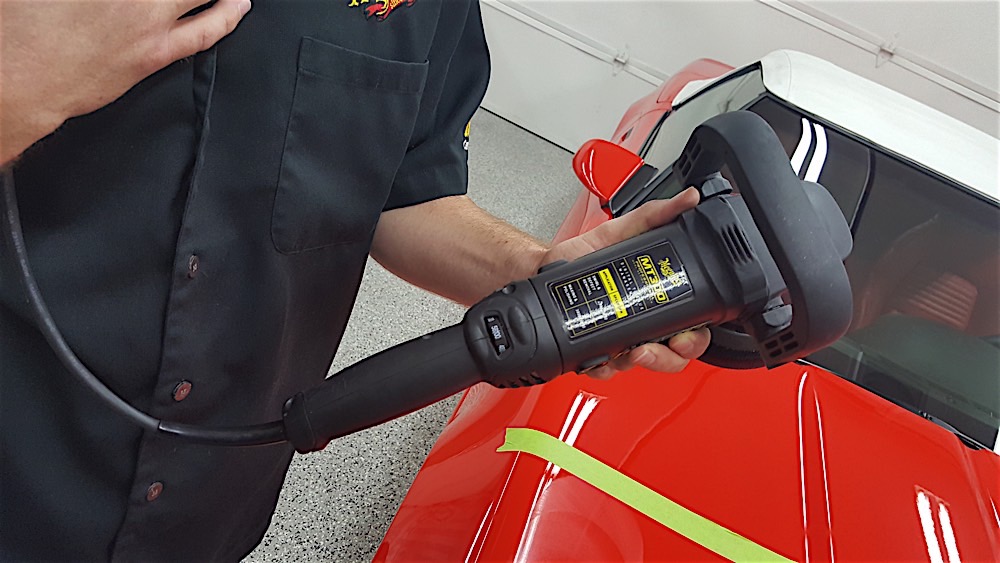
For the compound step, we used Meguiar’s Professional DA Polisher. [11] The thing is VERY easy to handle using random orbital technology that stops the pad from turning if you apply too much pressure.
Buffer speed, pad “aggressiveness” and strength of compound are key factors here. We used Meguiar’s Foam Cutting Disc [12], at 5,800 OPM–Oscillations Per Minute–and Meguiar’s Ultimate Compound. [13] Consider this step as really taking the edges off the swirl marks and blending them in.
 [14]
[14]
Again, the polisher and the compound is very easy to handle and when I had a chance to play with them, I never felt like it was too harsh or I could get in over my head.
After we did a small section on the car and agreed that the resulting swirl-free finish was what we wanted, we moved on to the rest of the car. Doing a section and then reviewing is crucial as you can access if you’re using the right combination of pad and compound. If you don’t like the test result, you can adjust before you go over the entire car.
 [15]
[15]We taped off emblems, but the more time you spend here, the less chance of burning through edges or excess wax clean up later.
Technique is the key here, work the paint in 2 x 2 foot sections alternating your work path with north/south passes followed by east/west passes. This way, you overlap your previous work minimizing the chances of missing a spot.
With the paint deep cleaned and below surface imperfections minimized, we upped the ante with a finer grit polish and went over the car again with Meguiar’s Ultimate Polish [16].
We turned the DA down to 4,800 OPM and used a Foam Polishing Disc [17] and went over the car again. Now the car was really looking good. Watching 22 year old factory paint return to almost new was a treat to behold.
 [18]
[18]
Again we used the 2 x 2 foot section strategy alternating our work path with north/south passes followed by east/west passes.
Lastly, we waxed the entire car using a very gentle Black Foam Finishing Disc [19] and Meguiar’s Ultimate Wax [20]. This puts a protective coating over the paint and makes clean up and washes a breeze. This also added an extra skosh of shine and clarity as well. We could have applied this by hand but used the machine as it was a big time savor.
 [21]
[21]We skipped correcting the tonneau cover as it had an old, yellowed three-part plastic film designed to protect the paint from the convertible top. I applied a coat of De-Solv-It, on the top of the film with an old paint brush, let it soften the material, and then used a plastic razor blade to remove the now semi-viscous material. This process was very gentle and didn’t scratch paint. I will repeat three-part paint correction process learned at Meguiar’s at a later date and match the swirl free finish of the rest of the car.
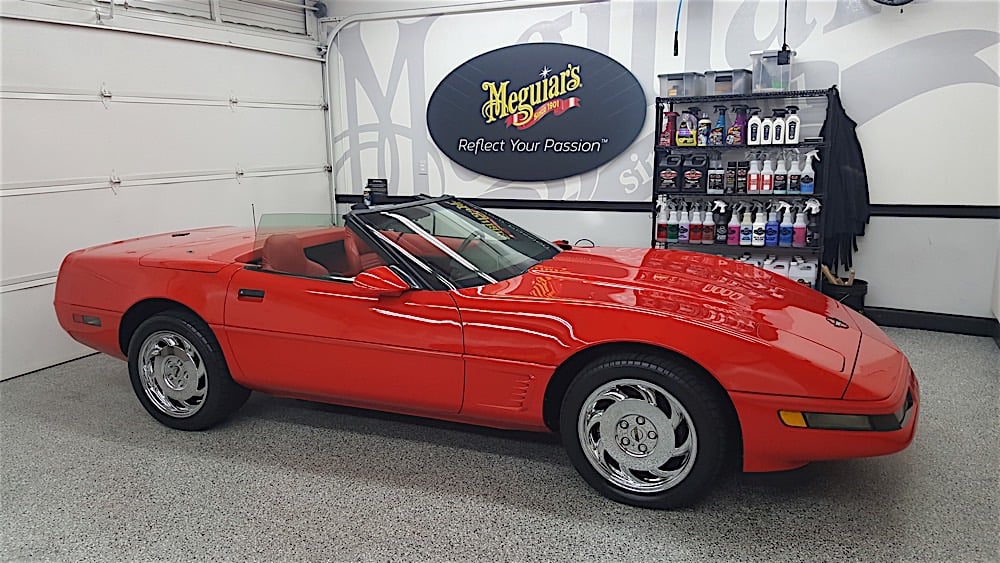
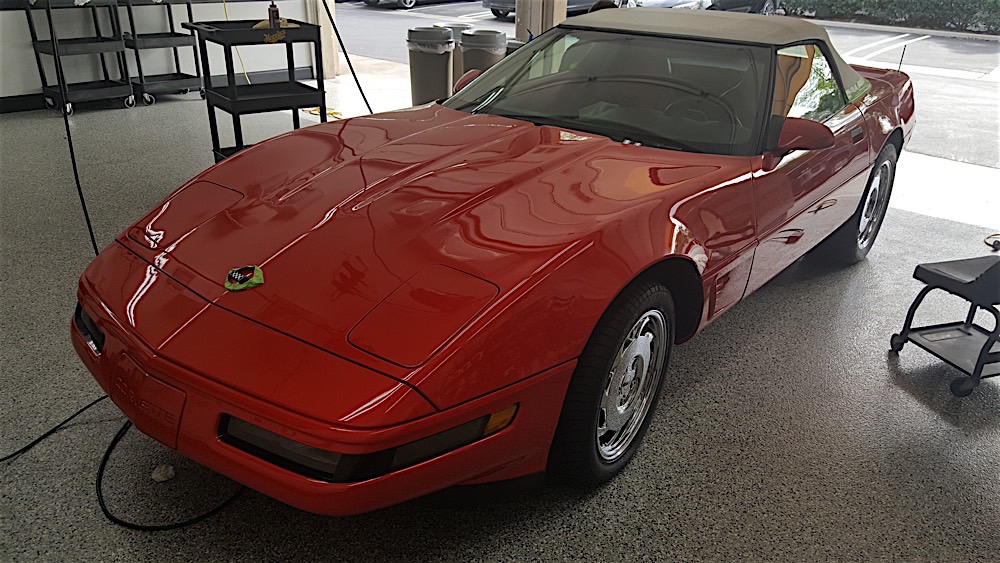
As you can see from the pics, the car is 90 percent back to factory fresh. I asked Mike if a guy was really anal retentive and wanted to get the car even better, would it be asking for trouble to go over it again?
He said “That’s the beauty of our system, it takes off so little material that you could easily do the entire process again and see if you could up the shine…” Good stuff.
Be sure and check out Meguiar’s website [22] for more info, details and a deeper dive on the process here.
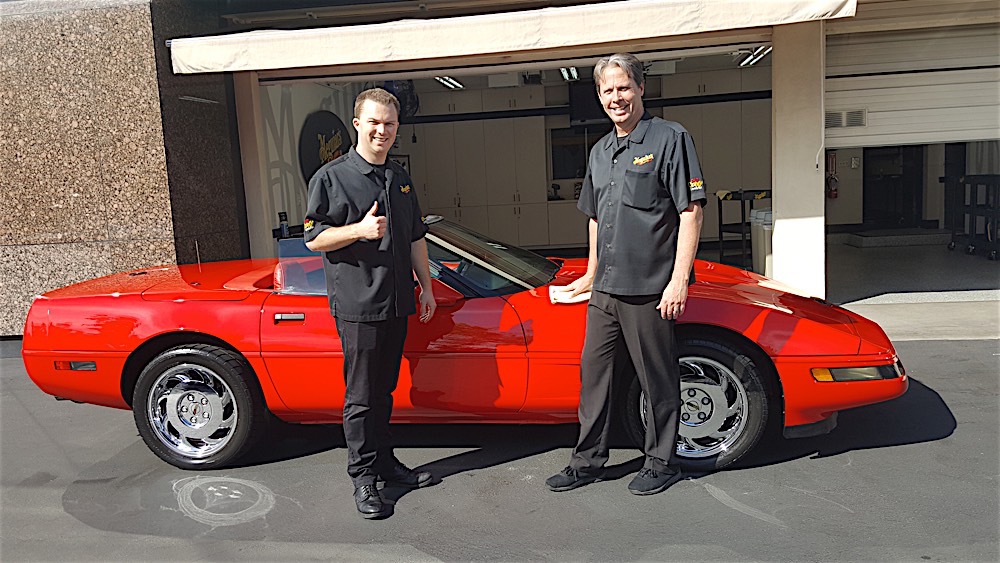 [23]
[23]Corvette Online wanted to give a shout out to Nick Winn, Mike Pennington and the awesome folks at Meguiar’s for all their hospitality, nice lunch and the excellent finished result of our project C4. Kudos and thank-you for doing what you do!